替换k8s所有证书
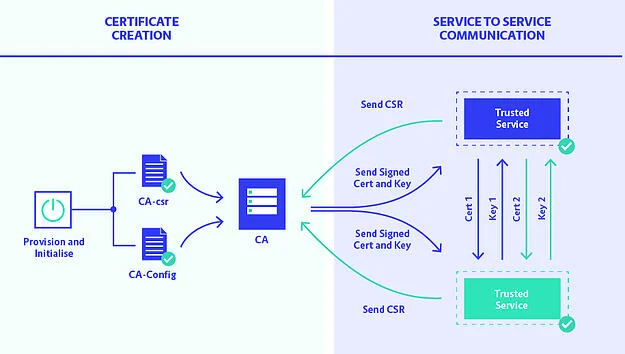
客户需要把kubernetes apiserver/etcd/kubelet/kubectl 等所有的证书有效期修改为100年。 很明显这是一个不合理的需求,不过客户说什么就是什么。 于是经几天的调试有了下面的这个 Makefile批量生成所有(FILES变量)的证书。 如果对makefile的语法不熟悉,可以看看Makefile简介 makefile 1 2 3 4 5 6 7 8 9 10 11 12 13 14 15 16 17 18 19 20 21 22 23 24 25 26 27 28 29 30 31 32 33 34 35 36 37 38 39 40 41 42 43 44 45 46 47 48 49 50 51 52 53 54 55 56 57 58 59 60 61 62 63 64 65 66 67 68 69 70 71 72 73 74 FILES = ca.crt ca.key sa.key sa.pub front-proxy-ca.crt front-proxy-ca.key etcd_ca.crt etcd_ca.key CONFS = admin.conf controller-manager.conf kubelet.conf scheduler.conf SELFS = kubelet.crt.self kubelet.crt.key #KEYs = ca.key front-proxy-ca.key etcd_ca.key sa.key #CAs = ca.crt front-proxy-ca.crt etcd_ca.crt #PUBs = sa.pub ## kubernetes will sign certificate ## automatically, so below ## csr/cert is for test purpose #CSR = apiserver.csr apiserver-kubelet-client.csr CERT_KEYS = apiserver.key apiserver-kubelet-client.key front-proxy-client.key CERTS = apiserver.cert apiserver-kubelet-client.cert front-proxy-client.cert # openssl genrsa -des3 -out rootCA.key 4096 CMD_CREATE_PRIVATE_KEY = openssl genrsa -out $@ 2048 CMD_CREATE_PUBLIC_KEY = openssl rsa -in $< -pubout -out $@ # openssl req -x509 -new -nodes -key rootCA.key -sha256 -days 1024 -out rootCA.crt CMD_CREATE_CA = openssl req -x509 -new -nodes -key $< -sha256 -days 36500 -out $@ -subj '/CN=kubernetes' # openssl req -new -key mydomain.com.key -out mydomain.com.csr CMD_CREATE_CSR = openssl req -new -key $< -out $@ -config $(word 2,$^) # openssl x509 -req -in mydomain.com.csr -CA rootCA.crt -CAkey rootCA.key -CAcreateserial -out mydomain.com.crt -days 500 -sha256 CMD_SIGN_CERT = openssl x509 -req -in $< -CA $(word 2,$^) -CAkey $(word 3,$^) -CAcreateserial -out $@ -days 36500 -sha256 -extfile $(word 4,$^) -extensions my_extensions # generata self sign certificate CMD_CREATE_CERT = openssl req -x509 -new -nodes -key $< -sha256 -days 36500 -out $@ -subj '/CN=nodeXXX@timestamp1531732165' CMD_MSG = @echo generating $@ ... MASTER_IP := 192.168.1.200 ## REMEMBER CHANGE ME .PHONY: all clean check self_sign rename all: ${FILES} ${CONFS} ${CERT_KEYS} ${CERTS} clean: -rm ${FILES} ${CONFS} ${CERT_KEYS} ${CERTS} self_sign: ${SELFS} check: for f in *.cert *.crt; do echo $$f; openssl x509 -noout -dates -in $$f; echo '==='; done rename: for f in *.cert; do echo $$f; mv $$f $${f%.*}.crt; echo '====='; done %.key: ${CMD_MSG} ${CMD_CREATE_PRIVATE_KEY} %.pub: %.key ${CMD_MSG} ${CMD_CREATE_PUBLIC_KEY} %.self: %.key ${CMD_MSG} ${CMD_CREATE_CERT} %.crt: %.key ${CMD_MSG} ${CMD_CREATE_CA} %.csr: %.key %.csr.cnf ${CMD_MSG} ${CMD_CREATE_CSR} %.cert: %.csr ca.crt ca.key %.csr.cnf #%.cert: %.csr front-proxy-ca.crt front-proxy-ca.key %.csr.cnf ${CMD_MSG} ${CMD_SIGN_CERT} %.conf: %.cert %-conf.sh sh $(word 2,$^) ${MASTER_IP} 上面的Makefile还需要对应的csr和 conffiles。 ...
